How do you choose a campground for a first family trip?
Compare access, toilets, drinking water, tent-pad dimensions and travel time before scenery. Read the specific site description and current campground rules, including food storage and cancellation terms. Pick a location that fits your equipment and family needs, then check alerts again before departure.
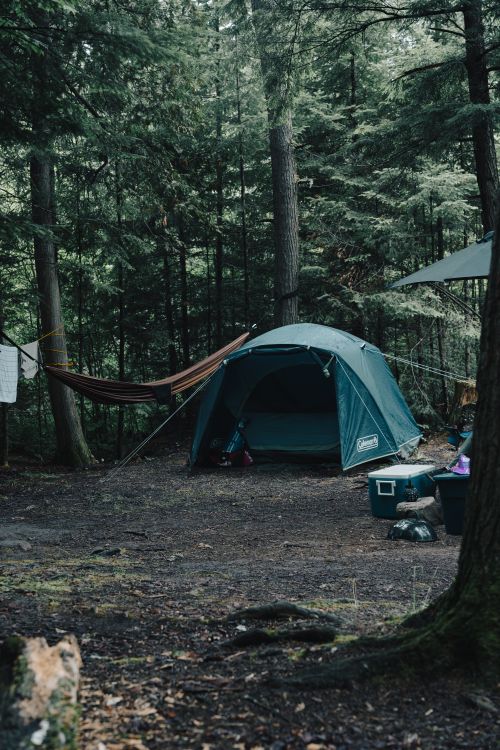
The best campground for a first family trip is the one that removes your biggest sources of stress. A spectacular view is a bonus; a usable tent space, clear arrival instructions, and the facilities your family needs are the foundation. Choose the campground first, then choose the individual campsite. Those are two different decisions.
Begin with a short list of priorities. For example: a reserved tent site, potable water, a restroom that works for your family, and a drive that leaves time for daylight setup. Keep that list beside you while browsing so attractive photos do not quietly replace your original requirements.
What type of campsite should you book?
“Camping” can describe a drive-in tent site, a walk-in site, an RV pad, a group area, or remote dispersed camping. Read the listing rather than assuming the category guarantees what you need. A walk-in campsite may mean repeated trips carrying a cooler and bedding. An RV-focused site may have a hard surface that is unsuitable for your tent stakes.
For a first trip, favor information you can verify. If the description does not say how far the site is from parking, whether tents are allowed, or what surface the tent uses, contact the campground before reserving. A missing detail is a question to resolve, not a feature to imagine.
Make facilities specific
“Water available” does not necessarily mean a tap beside your picnic table. Find out whether potable water is provided, where it is, and whether it will be operating on your dates. Likewise, a restroom may be a vault toilet, flush toilet, or a building with showers. Check what matters to your family without expecting every campground to offer the same standard.
Think through a nighttime bathroom trip. Is the route manageable with children? Is it close enough for your needs without putting your tent beside a busy doorway? If someone needs accessible facilities, review the actual access information and speak to the operator about the relevant route and features.
Measure the site against your equipment
Write down the tent's pitched dimensions and compare them with the stated tent-pad dimensions. Include space needed for doors, vestibules, and safe guyline placement. Do not infer a large tent area from the maximum number of people allowed on a site. Occupancy limits and physical tent space answer different questions.
Check vehicle limits too. A site may allow a certain number of people but charge separately for an extra car, restrict its length, or require overflow parking. If arriving with another family, decide whether one site really meets the rules or whether neighboring sites would work better.
Read the rules before paying
Record check-in and checkout times, cancellation terms, quiet hours, pet rules, generator hours if relevant, and food-storage requirements. Look for current alerts about construction, seasonal closures, water outages, and fire restrictions. These can matter more than an older review.
The National Park Service's campsite guidance highlights facilities, reservations, group limits, and food storage as questions to settle before traveling. Use the park or campground's own current information for the final decision rather than relying only on a third-party directory.
Use reviews to ask better questions
Recent reviews can help identify recurring practical issues: road noise, a long walk from parking, very small tent pads, or bright neighboring lights. Treat them as observations from particular visits. A complaint about “no entertainment” may be a benefit for a family seeking a quiet weekend. A praise-filled review from an RV traveler may not tell you whether a tent site drains well.
Look for patterns, dates, and photographs of the actual site. Avoid treating star ratings as a substitute for matching your needs. If several reviews mention a concern that matters to you, ask the operator directly whether it is still relevant.
Compare three finalists with a simple scorecard
Create columns for total cost, driving time, tent fit, restroom suitability, water, arrival flexibility, and one preferred activity. Mark each essential as confirmed, unsuitable, or unknown. Eliminate sites that fail a non-negotiable before comparing optional extras. This keeps a cheap price from masking an expensive workaround.
Include booking fees, parking or entrance charges where applicable, and the practical cost of driving. Do not assume a reservation automatically includes every separate park fee. A slightly more expensive nearby campground can still produce an easier and less expensive weekend overall.
Make a final check just before departure
Save your confirmation, site number, campground map, arrival instructions, and contact details offline. Recheck the operator's alerts and the destination weather forecast. Keep an alternative plan if conditions make the trip unsuitable. The point of a first campground is to make learning easier; it does not need to become a test of how much inconvenience your family can tolerate.
Useful next steps
Compare gear essentials before buying, or estimate your weekend costs with our free calculator.